
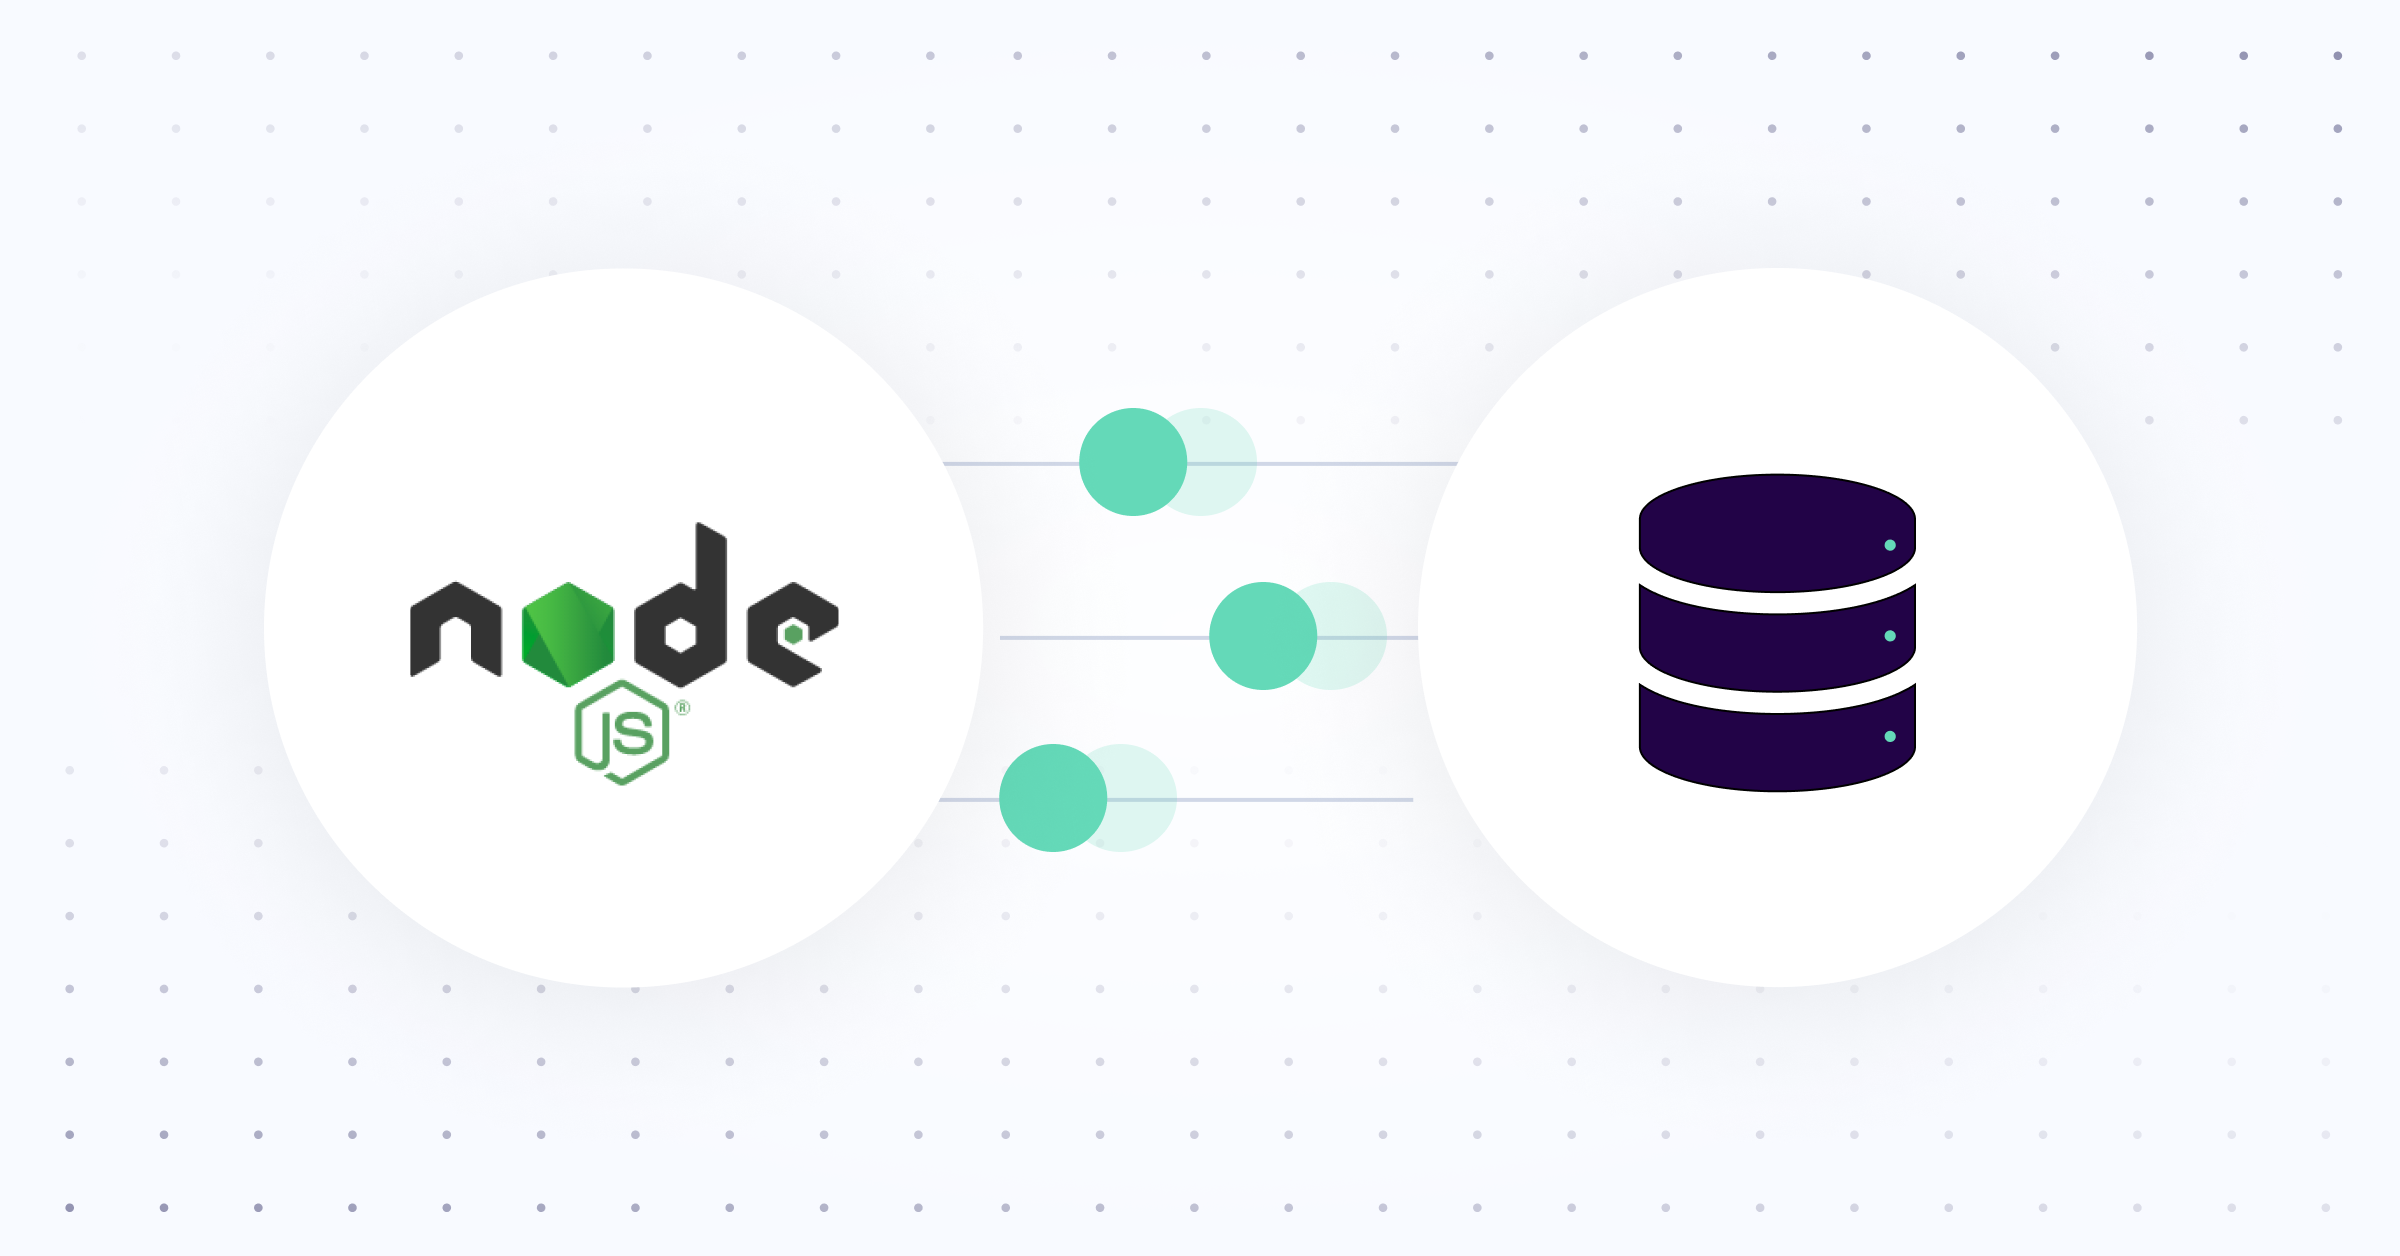
How to fetch data from a database using Node.js
May 27th, 2021
Learning to fetch data is a critical task for any web developer because web applications often need to communicate with external sources, such as databases.
Node.js is a JavaScript-based runtime environment popular among developers developing server-side applications and APIs. For this reason, it is a popular backend runtime environment, particularly in serverless architectures and Jamstack builds.
This blog will introduce the basic steps for fetching data from most databases and show you how easy it is to fetch data from Fauna using Node.js.
How to fetch data from most databases
Because every database is different, the syntax for fetching data from a database will depend on the specific database.
Step 1: Install Node.js and NPM
The first thing you need to do is install Node.js and pick the long-term support version. This will also install NPM. NPM is the Node Package Manager, and it comes alongside Node.js to allow the easy installation of many third-party packages, including database drivers.
Step 2: Install your database driver
Assuming Node.js and NPM are available on your machine, installing the specific database driver is usually the next step when fetching data. A database driver is a library that allows communication between your database and your application. In a nutshell, database drivers translate your application's data queries into a protocol language that the database server understands and return results to the application.
Node.js provides, via NPM, different database drivers that can be added as node packages.
Step 3: Create a database connection
This step usually involves creating a connection script to access the database. The script consists of the database hostname and credentials to access the database. When you run the script, the connection will be established.
Node does not automatically close connections, so if you have a lot of connections, you may want to use a connection pool. In this way, a fixed number of connections will always be available, and as connections are no longer needed, they will be closed. In cases where the connection needs to support many queries, you might want to keep it alive longer by using the HTTP keep-alive option.
If your application is reading or writing sensitive data, you might want to encrypt your database connections to avoid leaking confidential information.
Step 4: Query the database
In this step, you can use statements to read, write, or delete data from the database. Again, depending on what kind of database you’re using, whether relational, NoSQL, or key-value store, your syntax may vary.
Whenever possible, use an ORM/ODM or a database library that escapes data or supports named or indexed parameterized queries and validates user input for expected types. This is critical to prevent query injection or other malicious attacks against a database.
How to fetch data from Fauna using Node.js
Fauna supports Node.js, making integration straightforward and fast. Assuming you have Node.js and NPM, developers can work with Fauna with just a few steps -
Step 1: Install the driver
Use NPM to install the driver for Fauna.
npm install --save faunadbStep 2: Requiring the driver in the application
Require imports the FaunaDB module and initializes the variables that are needed for querying
var faunadb = require('faunadb'),
  q = faunadb.query
Step 3: Instantiating a client and using queries
Create a new Fauna client connection passing in the required credentials and domain settings.
var client = new faunadb.Client({
secret: 'YOUR_FAUNA_SECRET',
domain: 'db.fauna.com',
// NOTE: Use the correct domain for your database's Region Group.
port: 443,
scheme: 'https',
})
Only the most basic configuration options are covered in the above steps. However, developers can use additional options in Node.js connections, such as pagination, timeouts, and per-query options. Learn more about these advanced options here.
New to Fauna? Try us out for FREE.
Are you looking for the right database provider to meet your Node.js application needs?
Fauna is a flexible, developer-friendly, transactional database delivered as a secure and scalable cloud API with native GraphQL. Fauna makes it easy to connect and start building your Node.js apps without worrying about database provisioning, scaling, sharding, replication, and correctness. Hands-free scaling ensures that Fauna never has any capacity issues, and you’re never billed for resources you didn’t use.
Sign-up for free
The data API for modern applications is here. Sign-up for free without a credit card and get started instantly. Sign-up now
Quick start guide
Try our quick start guide to get up and running with your first Fauna database, in only 5 minutes! Read more
The Fauna service will be ending on May 30, 2025. For more information, read the announcement and the FAQ.
Subscribe to Fauna's newsletter
Get latest blog posts, development tips & tricks, and latest learning material delivered right to your inbox.